

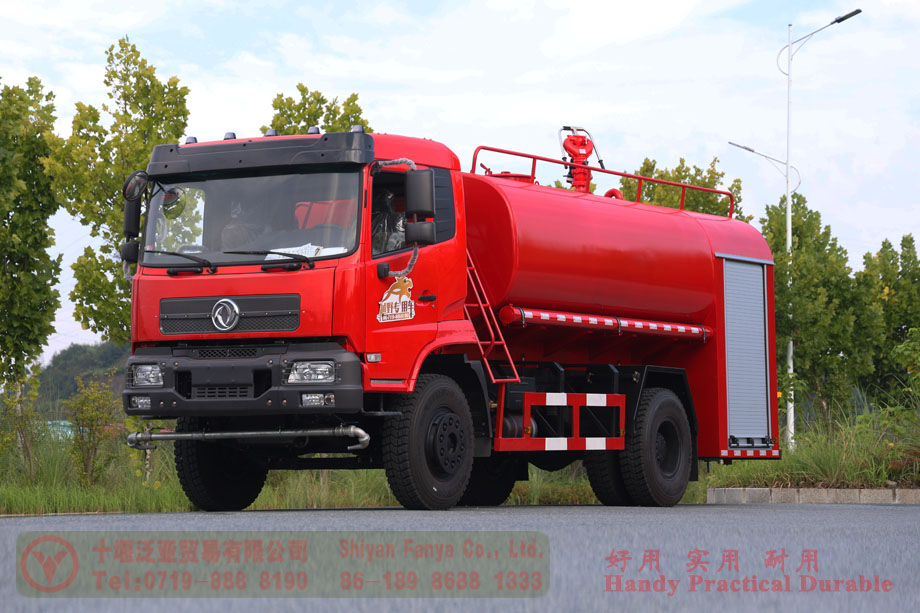

First, let’s go over the water intake procedure: Open the intake port, remove the suction hose from the top of the tank, connect one end to the vehicle’s intake port, and attach the filter hose to the other end before placing it in the water source.
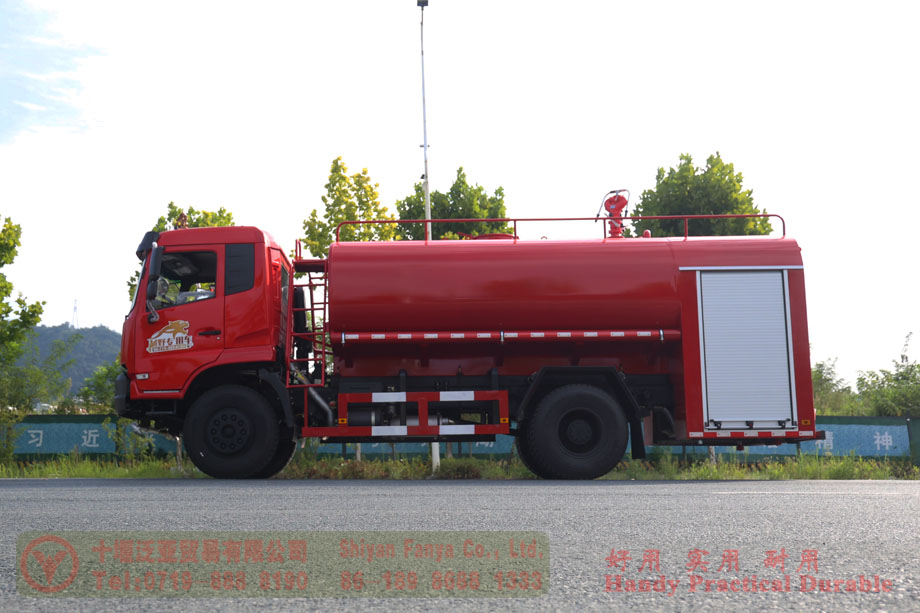
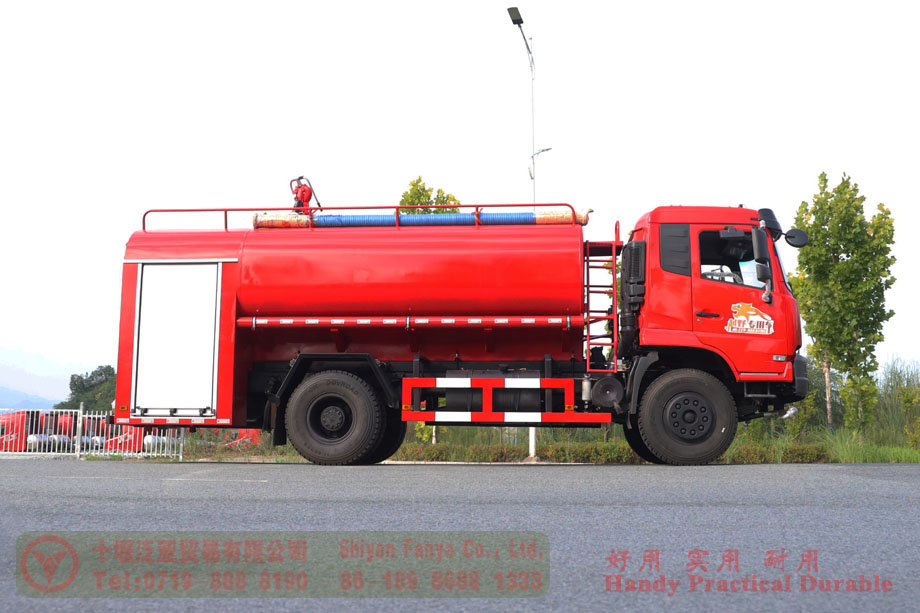
Turn the water intake valve to the left to open it, and adjust the vacuum port to a vertical position. Start the vehicle, gently press the clutch, engage the power take-off (PTO), and bleed the air from the lines. Wait 3 to 5 minutes, then turn on the priming switch. Monitor the water level on the panel; stop suction once the tank is full.
Next is the operation of the roof-mounted water cannon: The control switches are located on the right side of the pump compartment. The green switch is the water intake switch; connect the intake hose here. For simple water intake, there is no need to engage the PTO; the red switch is for water discharge; connect the discharge hose here. Once the hoses are connected, simply get into the cab and operate the roof-mounted water cannon to begin spraying.
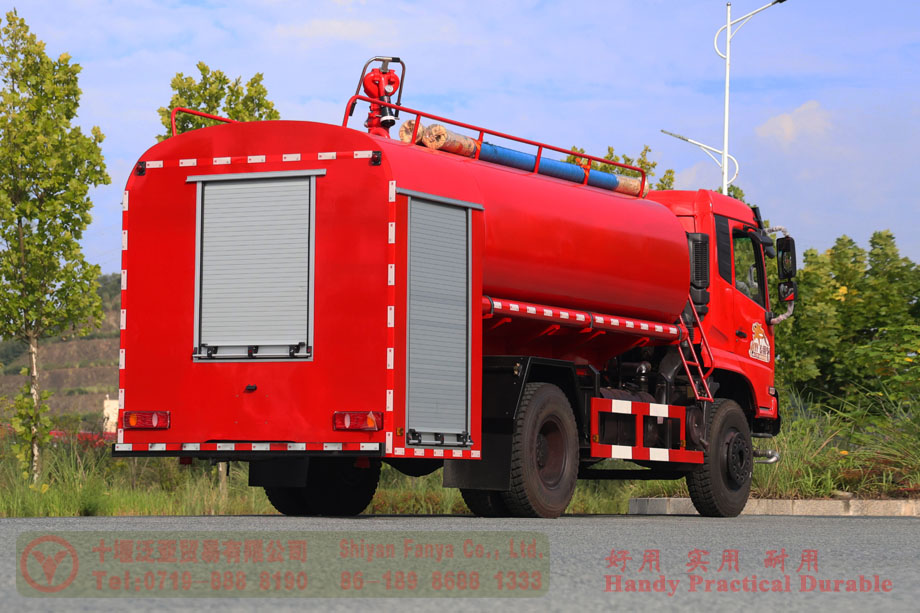
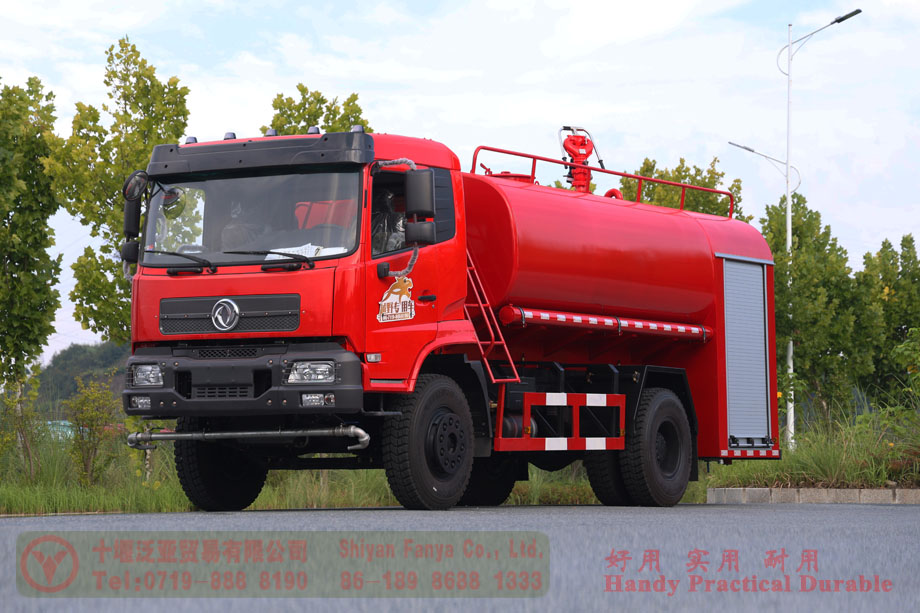

Next are the front spray and rear sprinkler functions: the front spray switch is located at the front of the vehicle, and the rear sprinkler switch is at the rear.
It is essential to follow this sequence: first turn on the front spray and rear sprinkler switches, then engage the PTO; only then will the equipment discharge water normally. There are three drain valves on the vehicle: the pump room drain valve, the PTO cooling water valve, and the tank drain valve. In cold weather or when storing the vehicle, be sure to drain all accumulated water to prevent freezing and damage to the equipment.
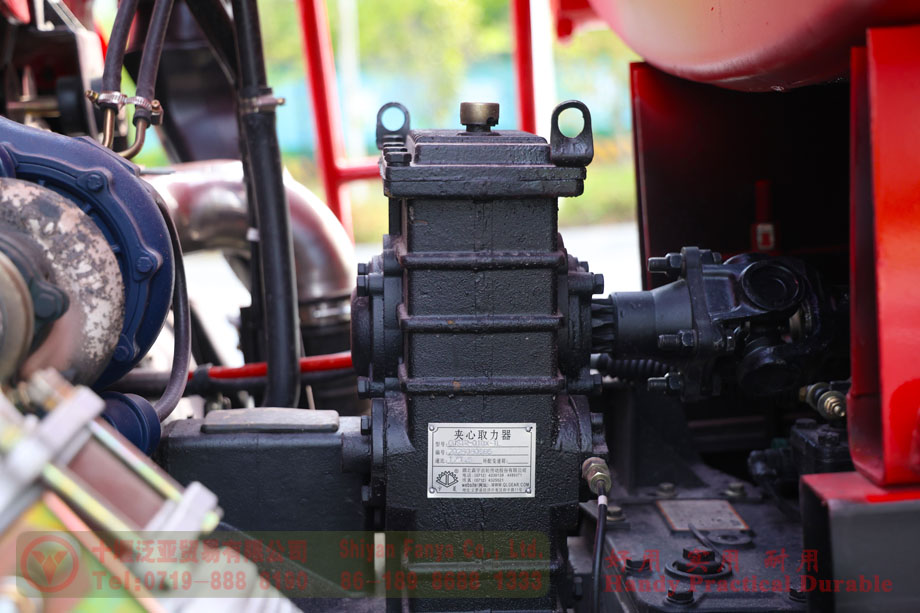
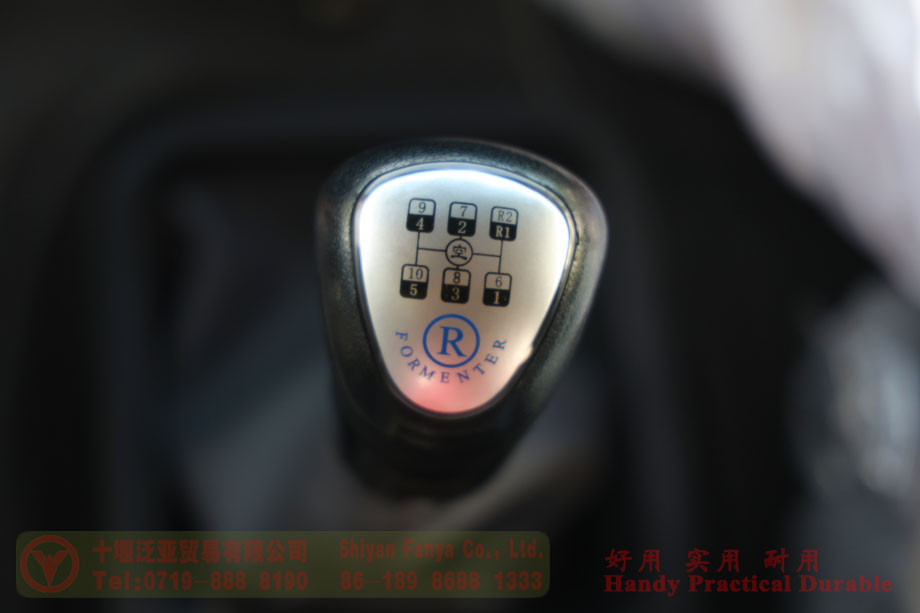
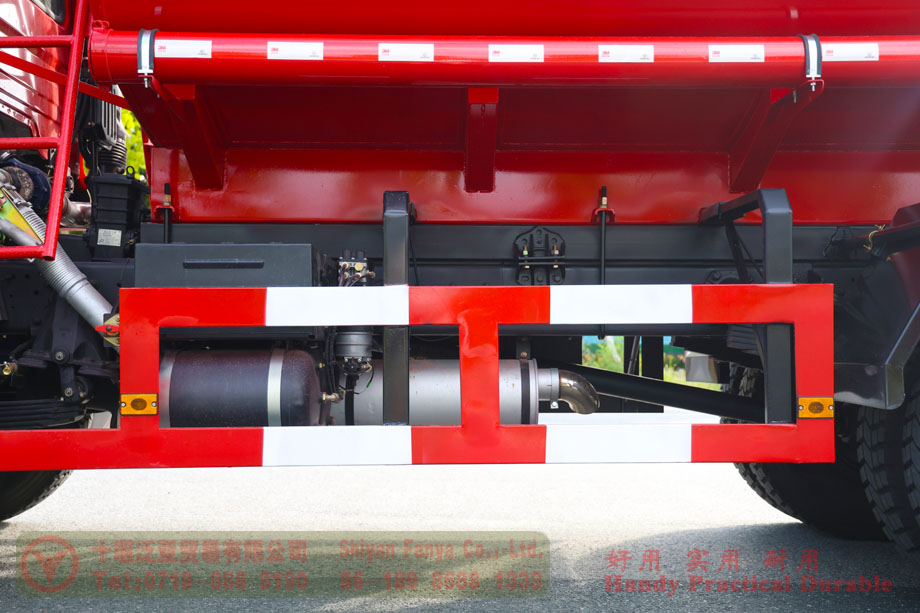
After all operations are complete, gently press the clutch to disengage the PTO and finish the operation.
This concludes the video introduction to the features of this fire truck. If you’re interested, please follow us!
Post time: Oct-20-2026